


Signs of Tire Failure Every Driver Should Never Ignore
Why Early Detection Saves Lives
Tire failure is one of the leading causes of sudden road accidents, and it rarely happens without warning. Most tires give off clear signals before they fail—drivers just need to recognize them. By learning to spot these signs early, you can prevent blowouts, reduce repair costs, and keep your car handling as it should. Studies from the NHTSA show that thousands of accidents every year are caused by neglected tire issues that could have been avoided with regular checks.
Common Warning Signs You Should Watch For
1. Vibration and Unstable Handling
A steering wheel that shakes or a vehicle that pulls to one side is often the first sign something is wrong with your tires. This can mean:
-
Uneven tire wear due to poor alignment.
-
Internal tire damage that weakens structure.
-
Low pressure on one side.
Action: Use an ATSAFEPRO digital tire gauge to confirm if PSI is off balance. If vibration continues, have the alignment and suspension inspected.
2. Uneven or Excessive Tread Wear
Tires wear down differently depending on driving style and road conditions. Warning patterns include:
-
Bald Spots: Caused by sudden braking or faulty suspension.
-
Feathered Edges: Indicate improper alignment.
-
One-Sided Wear: Often from low inflation on one side.
Action: Measure with a tread depth gauge. Replace tires once tread drops below 2/32 of an inch. For city drivers, check every few months; for long-distance drivers, check monthly.
3. Gradual Pressure Loss
If one tire loses air slowly over days or weeks, it can mean:
-
A nail or screw puncture.
-
A cracked valve stem.
-
A weak bead seal.
Action: Don’t wait until your dashboard TPMS light appears—by then pressure may already be dangerously low. Regularly monitor with an ATSAFEPRO portable inflator with gauge, and schedule repair if leaks continue.
4. Visible Sidewall Damage
Sidewalls are thin and vulnerable. Look for:
-
Bulges or bubbles caused by internal separation.
-
Cuts or cracks from hitting curbs or debris.
-
Dry rot in older tires.
Action: If you see swelling or deep cracks, replace the tire immediately. Sidewall failures cannot be repaired and often lead to sudden blowouts.
5. Strange Noises While Driving
Tires that hum, thump, or squeal in unusual ways often signal:
-
Uneven tread making irregular road contact.
-
Tread separation or belt issues inside the tire.
-
Severely underinflated tires flexing too much.
Action: Don’t ignore strange noises—especially if they appear suddenly. Combine listening with pressure and tread checks using ATSAFEPRO tools to pinpoint the cause.
How to Build a Tire Safety Routine
To stay ahead of failure, drivers should adopt simple habits:
-
Monthly Pressure Check: Tires naturally lose 1–2 PSI per month.
-
Seasonal Tread Inspection: Wet or icy roads demand deeper tread.
-
Rotation Every 5,000–7,000 Miles: Prevents uneven wear.
-
Visual Sidewall Check: After hitting potholes or curbs.
-
Emergency Preparedness: Keep a portable inflator and repair kit in your trunk.
By making these checks part of your regular routine, you’ll extend tire lifespan and reduce the chance of accidents.
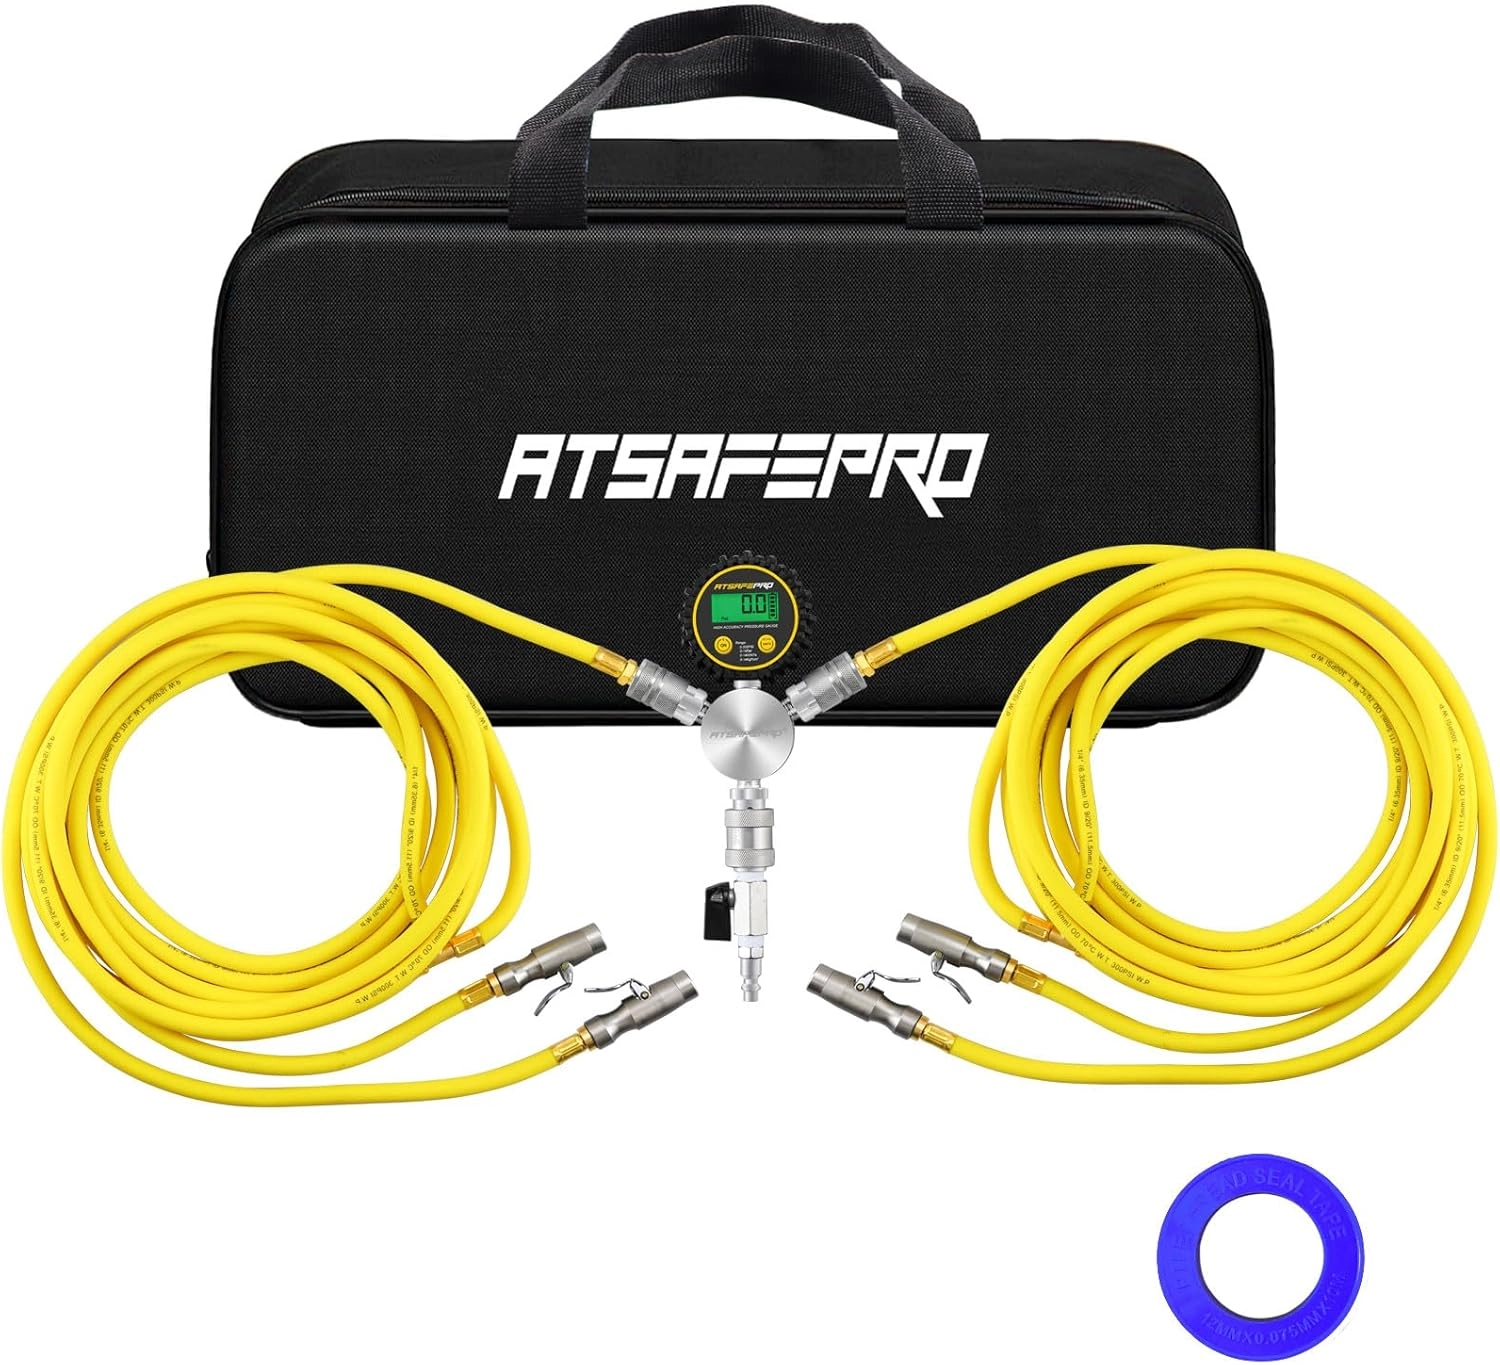
ATSAFEPRO Tools That Simplify Tire Safety
The best prevention is consistency, and consistency comes from convenience. ATSAFEPRO gauges, inflators, and tread depth tools are designed for everyday drivers, providing accurate readings without guesswork. Whether it’s a quick pressure check before a trip or a tread inspection in your driveway, these tools make safety fast and stress-free.
Don’t Wait Until It’s Too Late
Tire failure rarely strikes without signs. By paying attention to vibration, uneven wear, pressure loss, sidewall damage, and unusual noises, you can act before small problems become major risks. With ATSAFEPRO tire tools, staying safe isn’t complicated—it’s a simple habit that protects you, your passengers, and your vehicle on every journey.
Explore ATSAFEPRO tire tools or connect via Contact Us to get the tools that turn prevention into peace of mind.


