


Why a rotor micrometer is not just a “nice-to-have” in brake work
The GODESON Disc Brake Rotor Micrometer sits in a category that many shops only think about when a rotor comes off the car and the numbers start looking close to the discard limit. That is usually the moment when measurement stops being routine and becomes a decision: reuse, machine, replace, or hold the vehicle. A tool built for rotor thickness measurement matters because brake performance depends on small dimensional changes that are easy to miss with general-purpose calipers or a standard outside micrometer.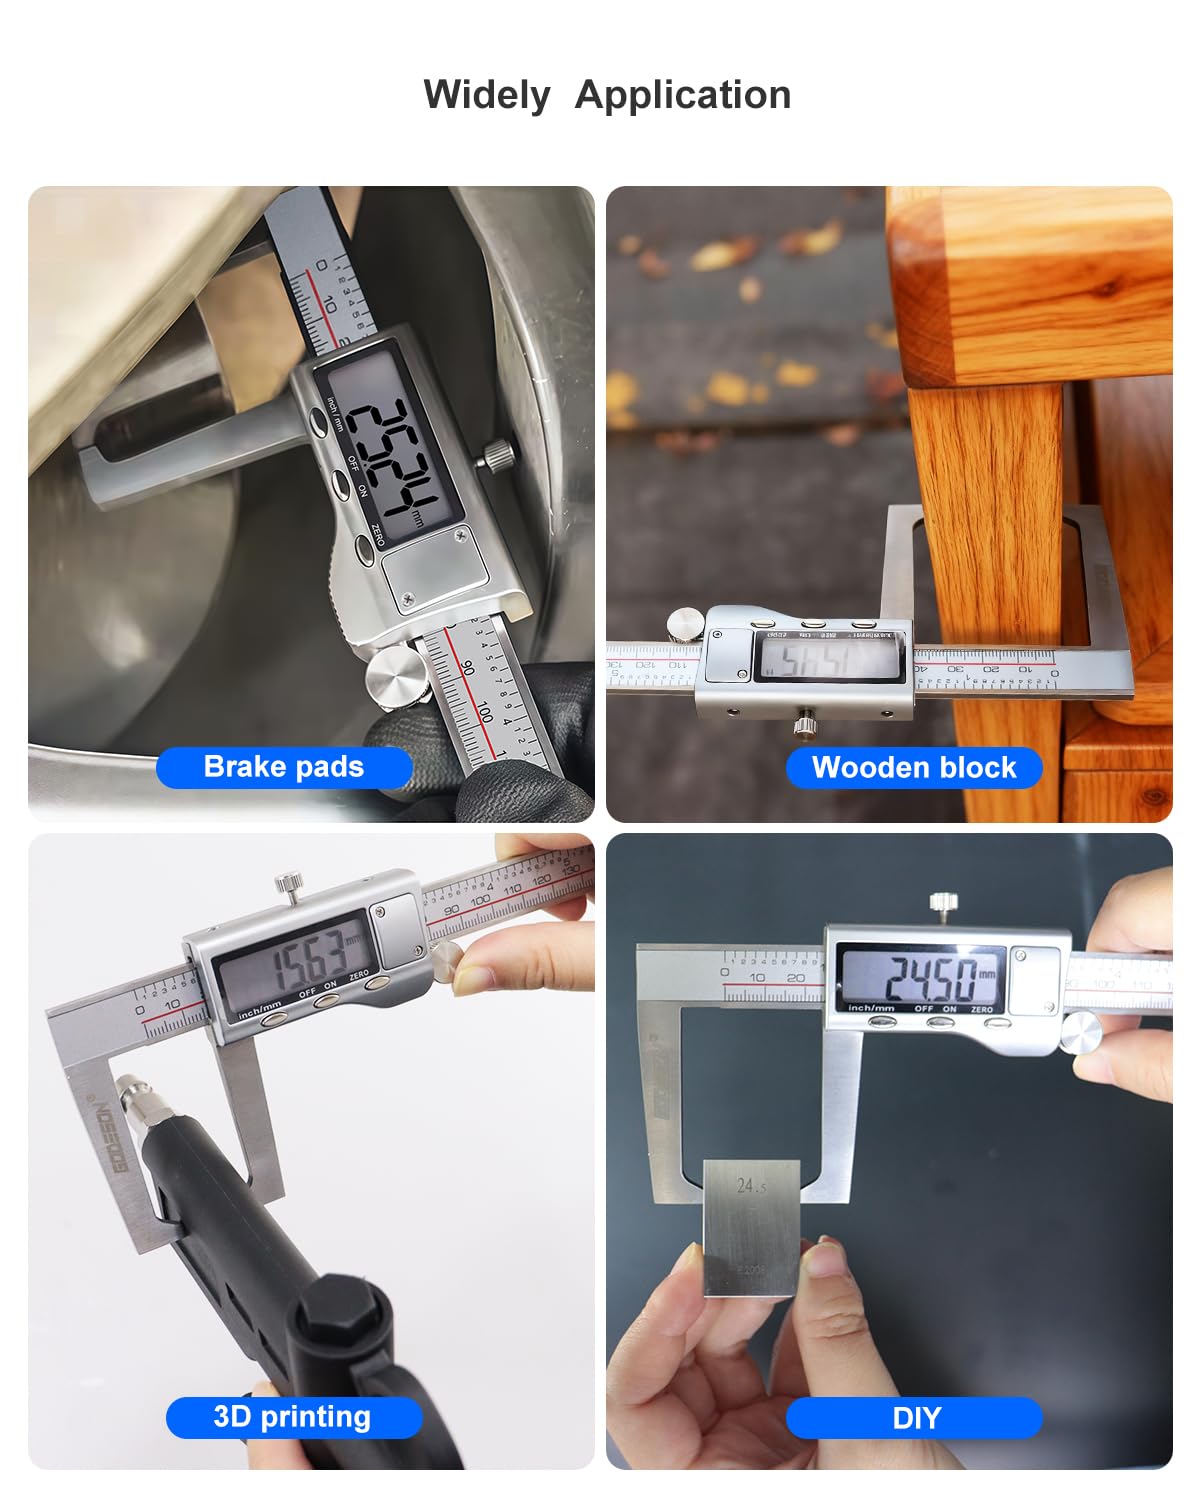
For engineers, sourcing managers, and service teams, the real question is not whether a rotor micrometer can read a number. It is whether the tool reaches the measurement point cleanly, reads consistently, and survives day-to-day shop handling without turning into another drawer item no one trusts. In that sense, this style of digital blade micrometer is a practical metrology tool first and a convenience tool second.
What the GODESON Disc Brake Rotor Micrometer is designed to solve
Brake rotors and similar discs present a simple but annoying measurement problem: the surface you need to measure is often recessed, interrupted, or difficult to access with ordinary jaws. A blade-style rotor micrometer uses a slender contact profile so the measuring faces can reach into the disc area without the body of the instrument colliding with nearby features.
That makes it useful not only for automotive brake rotor measurement, but also for other thin-section or slot-access measurement tasks in maintenance and inspection work. In the picture, the tool shows a long, slim metal beam, a digital LCD head, and a leaf-like measuring contact that appears designed for rotor access. That combination tells you a lot about the intended use. It is a specialty instrument for places where a general micrometer is simply too bulky.
The visible controls also help define the workflow. The display includes unit switching between inch and millimeter, a zeroing function, and a hold function. Those are small features, but in a production bay or repair shop they reduce friction. A technician can zero on a reference, take a reading, hold it for a glance, and move on.
Key features visible on the tool
There is always a temptation to read too much into product photos, so it is worth staying with what can actually be seen.
The micrometer appears to include:
- A digital readout with inch/mm switching
- ON/OFF and zero controls
- HOLD function on the display
- A slim, blade-style measuring geometry for rotor access
- A black and red body with printed scale markings
- An IP54 marking near the head, suggesting limited dust and splash protection
- A red storage case with foam insert
- A USB cable or accessory in the package
That last point is worth a cautious note. The presence of a USB cable does not by itself tell you whether the connection is for charging, data transfer, or another interface function. Buyers should confirm that before building a purchasing spec around it.
Where this type of micrometer fits in a shop
A rotor micrometer is most at home in brake service, but it has a broader role in inspection and maintenance.
Automotive brake inspection
This is the obvious application. Rotor thickness is one of those measurements that affects safety, service life, and customer communication all at once. If the disc is worn, uneven, or close to minimum thickness, the tool helps turn a visual suspicion into a documented measurement.
Mechanical repair and field maintenance
The narrow contact geometry also helps in service environments where a part cannot be removed easily or where the measuring point is partially obstructed. In that setting, reach matters as much as resolution.
Quality control on thin sections
While it is not a universal metrology solution, a blade micrometer can be useful for checking thin, hard-to-reach dimensions on manufactured parts. The caveat is straightforward: do not force a specialty tool into a job it was not built for just because it “sort of fits.” Contact geometry and repeatability still have to match the part.
Why digital matters here
For many shops, the digital format is not about looking modern. It is about reducing reading errors and speeding up repetitive checks. Inch/mm conversion is useful in mixed-service environments where one team member thinks in thousandths and another works in metric. The zero function also makes the tool easier to reference against a known standard or baseline part.
The HOLD function is a quieter advantage. In cramped spaces, or when the measuring position forces an awkward viewing angle, holding the reading can prevent a missed number. That is not glamorous, but it is practical.
One thing to watch with any digital metrology instrument is handling discipline. If the head, display, or cable is knocked around in a busy bay, readings can become unreliable before the tool looks obviously damaged. The included case is a good sign because it encourages storage rather than tossing the instrument into a crowded toolbox.
How buyers should evaluate a rotor micrometer
The purchase decision should not hinge only on the presence of a digital screen. A buyer should look at four basic questions.
1. Does the geometry match the part?
A rotor micrometer needs enough access clearance to reach the measurement surface without interference. If the contact blade is too short or the frame is too bulky, the tool may technically measure but still produce awkward, inconsistent readings.
2. Is the display useful in actual shop conditions?
A screen that is easy to read indoors may be less helpful under vehicle lifts, fluorescent lighting, or outdoor service conditions. Button layout matters too. The visible ON/OFF, MM/IN/F, and HOLD controls suggest a straightforward interface, which is usually what technicians want.
3. How will it be stored and protected?
A precision tool that lives loose in a drawer often becomes a questionable tool. The red case with foam insert is not a luxury feature; it is part of the protection strategy.
4. Is the environmental protection adequate?
The visible IP54 marking suggests some resistance to dust and splashing, which is helpful in shop use. Still, “some protection” is not the same as abuse resistance. It is a precision instrument, not a throw-around gauge.
Common mistakes when using a disc brake rotor micrometer
The most common mistake is also the most predictable: reading too much confidence into one measurement point. Rotor wear is not always uniform. A single measurement can be misleading if the disc has variation around its circumference or if a technician measures on a dirty or damaged surface.
Another mistake is using too much hand pressure. Precision measuring tools are sensitive to feel, and blade-style contacts can be especially vulnerable to inconsistent squeeze. If the operator habits are sloppy, the numbers can drift even when the instrument is fine.
A third issue is ignoring surface contamination. Rust, brake dust, and edge build-up can all affect the reading. Wiping the rotor clean before measurement should be basic practice, but in the real world it is still skipped more often than it should be.
Finally, there is the calibration question. The product information supplied here does not include calibration status, exact range, or accuracy. Buyers who need traceable measurement should plan to verify those details directly rather than assume them from the product category.
What the package suggests about field use
The included storage case and USB cable point to a tool meant for more than occasional bench use. That matters for purchasing teams because accessory completeness affects adoption. If a technician can grab the instrument, use it, and put it back in a protected case, the chance of loss and damage drops.
The visible hardened stainless marking on the body also suggests an emphasis on durability, though the exact material makeup should not be overstated without documentation. In precision tools, the material story is important but incomplete on its own. Machining quality, grinding finish, and electronic stability all matter just as much.
Practical buying advice
If you are evaluating the GODESON Disc Brake Rotor Micrometer for a shop, keep the purchase conversation grounded in use case rather than marketing language.
Ask whether the tool will be used primarily for brake service or as a more general thin-section gauge. Confirm the measurement system the team prefers. Check whether the display is readable in the lighting where it will actually be used. And, if the instrument is being bought for inspection work, make sure the responsible team has a plan for verification and periodic checking.
That last point is easy to overlook. A specialty micrometer can become a trusted tool quickly, but only if it is treated like a precision gauge and not just another hand tool.
Who this tool is best suited for
This kind of digital rotor micrometer is a good fit for automotive technicians, maintenance departments, and quality-minded mechanical service teams that need access to hard-to-reach disc measurements. It is less of a fit for buyers who want one instrument to do everything. The shape that makes it good at rotor work also makes it specialized.
For that reason, it is best viewed as a focused metrology tool with a narrow job and a clear payoff: faster access, easier reading, and fewer awkward measurement setups.
Next step for buyers
If your team regularly measures rotor thickness or similar disc features, review the tool against your actual part geometry, reading requirements, and storage practices. If the contact style and display functions fit the workflow, a rotor micrometer like this can save time and reduce measurement friction without complicating the job.
Before purchase, confirm the measurement range, resolution, accuracy, and any calibration documentation you require. Those are the details that determine whether the instrument is merely convenient or genuinely fit for controlled shop use.





