How to Set a Torque Wrench for Professional Accuracy

  • blog
Posted by ATSAFEPRO On Aug 11 2025

Technician setting torque value on an ATSAFEPRO professional torque wrench set in workshop

How to Set a Torque Wrench for Professional Accuracy

Why Setting Torque Correctly Matters

In professional service environments, incorrect torque can lead to dangerous failures or costly rework. Over-torquing can strip threads or deform parts, while under-torquing risks component loosening under load. A properly set torque wrench ensures compliance with manufacturer specifications and industry standards such as ISO 6789 and ASME B107.

Step-by-Step: Setting a Click-Type Torque Wrench

  1. Check the Specification
    Locate the manufacturer’s recommended torque value in Nm, ft-lb, or in-lb.

  2. Unlock the Handle
    Most wrenches feature a locking collar or knob to prevent accidental changes.

  3. Rotate the Handle
    Turn the handle until the main scale matches the desired torque value.

  4. Fine Adjustment
    Use the micrometer scale on the handle for precise settings (e.g., 36 Nm + 0.5 Nm).

  5. Lock the Setting
    Secure the handle to prevent drift during use.

  6. Confirm Unit Compatibility
    Ensure your setting matches the required unit (Nm vs ft-lb).

Why a Torque Wrench Set Improves the Process

When setting a torque wrench, range matters. Using a high-capacity wrench for a low-torque job reduces accuracy and increases the risk of error. An ATSAFEPRO torque wrench set includes multiple wrenches, each optimized for a specific torque range:

  • ¼” Drive: 2–25 Nm for precision work (e.g., brake calipers, electronics)

  • ⅜” Drive: 20–110 Nm for general automotive assembly

  • ½” Drive: 60–300 Nm for heavy-duty fasteners and wheel nuts

By selecting the correct wrench from the set, you keep your target torque within the 20–80% optimal range, ensuring the best accuracy and tool longevity.

Where a Set Pays for Itself: From Shop Floors to Driveways

Workshops & Tire Bays
Rotate through ¼″ / ⅜″ / ½″ drives for calipers, suspension, and wheels without re-setting one wrench all day—faster flow, less drift.

Fleet & Mobile Service
One case handles vans in the morning and Class-8 wheels in the afternoon; standardized tools simplify training and calibration logs.

Industrial Assembly
Dedicated wrenches per station keep each torque zone inside its accuracy sweet spot; digital units add traceability.

Home Garage (serious DIY)
Seasonal wheel changes, brake service, and small engine work: a compact torque wrench set covers 10–200 Nm without over-stretching a single tool.

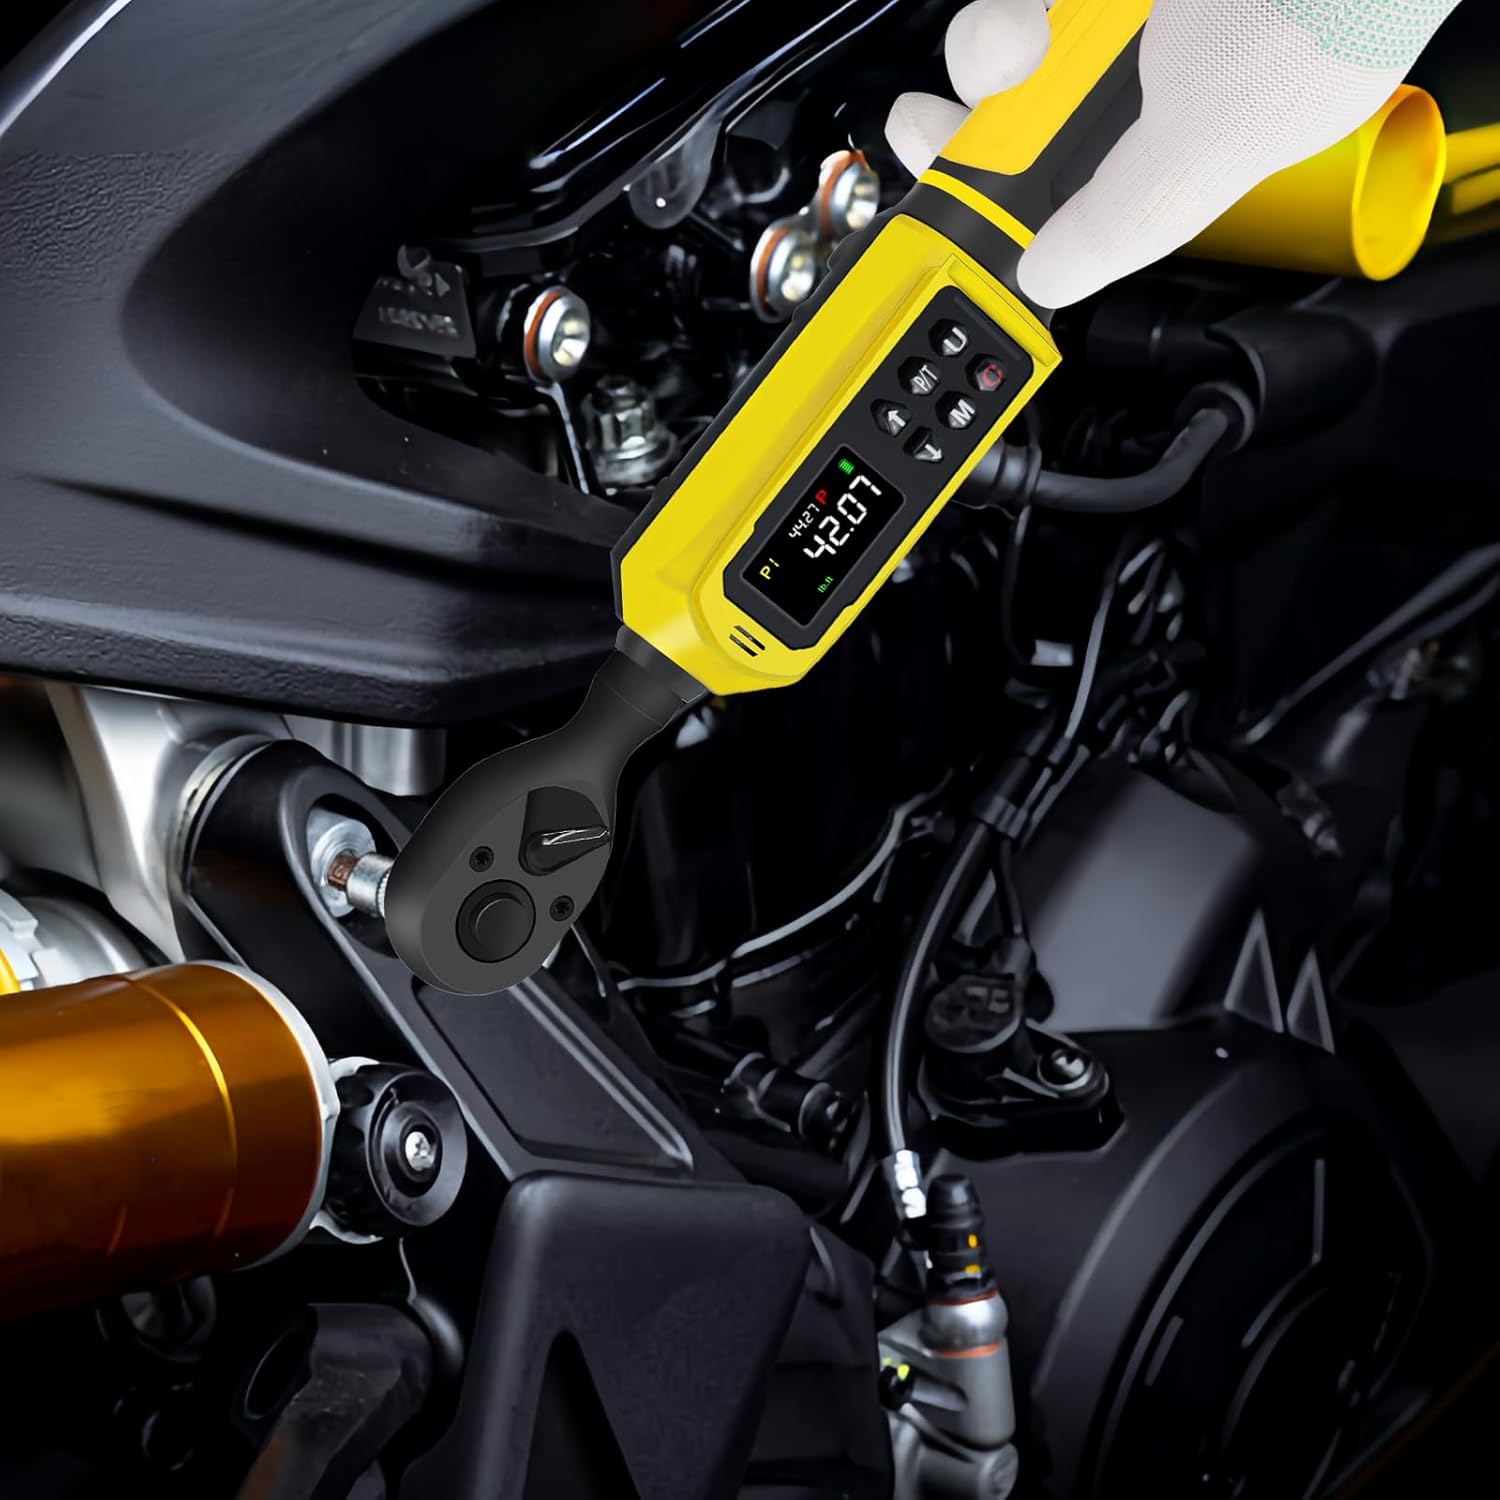
Motorcycle Enthusiasts
¼″ drive for 6–12 Nm cockpit/cover bolts, ⅜″ for axle pinch and calipers, ½″ reserved for rear axle nuts—no guesswork on aluminum threads.

Cycling & E-bikes
Low-range ¼″ wrench for 3–8 Nm carbon cockpit and seatposts, with hex/Torx bits and extensions for tight frames.

RV/Trailer Owners
Routine lug re-checks after the first 80–160 km and at each fuel stop; the ½″ wrench in the set keeps clamp load consistent across hubs.

Road-trip/Overlanding Kits
Packed case survives dust and vibration; staged checks on suspension hardware reduce failure risk far from service.

Safety and Accuracy Tips

  • Always reset mechanical wrenches to the minimum setting after use

  • Never exceed the tool’s maximum rated capacity

  • Calibrate all wrenches in the set annually or every 5,000 cycles

  • Use a steady, controlled pull until the click is felt—do not jerk the handle

Professional Results with ATSAFEPRO

Setting torque precisely is only half the job—having the right torque wrench for the range is equally important. An ATSAFEPRO torque wrench set gives professional users the flexibility to work across torque specifications without compromising accuracy or speed.

Explore our full range of best torque wrench sets on the ATSAFEPRO product page or visit our homepage for more workshop solutions. For bulk or distributor pricing, contact us today.

Featured Blogs

Tag:

  • Blog
Share On
Featured Blogs
GODESON Tire Pressure Gauge: A Practical Guide for Everyday Use

GODESON Tire Pressure Gauge: A Practical Guide for Everyday Use

1. Why tire pressure still causes avoidable trouble 2. What this type of gauge is trying to solve 3. Key features visible in the GODESON setup 4. Mechanical gauge or inflator combo: what the buyer should infer 5. How to judge whether this style fits your operation 6. Selection criteria that matter more than marketing copy 7. Common mistakes buyers make with tire pressure tools 8. Practical buying advice before you place an order 9. FAQ 10. What this product is really good for

GODESON Digital Tire Tread Depth Gauge: A Practical Guide

GODESON Digital Tire Tread Depth Gauge: A Practical Guide

1. Why tread depth checks still matter when a tire looks “fine” 2. What this kind of gauge helps you decide 3. What the visible design tells you 4. Digital gauge versus simpler mechanical options 5. How to use a tire tread depth measuring tool without fooling yourself 6. What buyers should look for beyond the display 7. Common mistakes that lead to bad tire decisions 8. Where this tool fits in a shop or fleet workflow 9. FAQ for first-time buyers 10. Next step for buyers

GODESON Digital Caliper: A Practical Rechargeable Measuring Tool

GODESON Digital Caliper: A Practical Rechargeable Measuring Tool

1. Why a Digital Caliper Still Matters on the Shop Floor 2. What the Tool Is Built to Do 3. What Buyers Usually Need From a Caliper Like This 4. Where This Kind of Caliper Fits Best 5. Selection Criteria That Matter More Than Marketing Copy 6. Common Mistakes Buyers Make 7. What the Visible Construction Suggests About Manufacturing 8. Practical Buyer Advice Before You Place an Order 9. FAQ 10. A Sensible Next Step for Buyers

GODESON Digital Tire Tread Depth Gauge: What to Know

GODESON Digital Tire Tread Depth Gauge: What to Know

1. Why a digital tread gauge matters before the tire actually looks “worn out” 2. What this tool is, in practical terms 3. Digital versus mechanical tread gauges 4. What the visible design suggests about manufacturing and use 5. Who benefits most from a digital tread depth measurer 6. Selection criteria buyers should not skip 7. Common mistakes when measuring tread depth 8. Quick buyer takeaway 9. FAQ 10. A practical next step

GODESON Digital Caliper: What Buyers Should Compare Before Buying

GODESON Digital Caliper: What Buyers Should Compare Before Buying

1. GODESON Digital Caliper: what buyers should compare before they click “add to cart” 2. What the product image tells us, and what it does not 3. Digital caliper versus dial and vernier: a practical comparison 4. Where this type of caliper fits best 5. Selection criteria buyers should weigh before choosing 6. Practical cautions that buyers sometimes overlook 7. Who should choose this style, and who probably should not 8. FAQ buyers often ask 9. What a sensible buyer should do next

GODESON Digital Tire Tread Depth Gauge: A Practical Buyer’s Guide

GODESON Digital Tire Tread Depth Gauge: A Practical Buyer’s Guide

1. Why a digital tread gauge matters before the tire starts talking back 2. Quick takeaways for buyers 3. What the GODESON Digital Tire tread depth gauge is built to do 4. Where this kind of gauge fits in the real world 5. The practical features that matter most 6. How to use a digital tire tread depth gauge without fooling yourself 7. What a buyer should compare before choosing a similar gauge 8. Common mistakes when evaluating tread depth 9. Design notes that hint at manufacturing quality 10. Who is most likely to get value from this tool? 11. A short buyer’s checklist before ordering 12. FAQ 13. Final buyer note and next step