How to Use the Atsafepro Torque Wrench for Precision Fastening
In the world of mechanical work, achieving the perfect torque is essential for safety and performance. The Atsafepro torque wrench stands out as a smart digital torque adapter designed for those who demand precision, speed, and confidence in every fastener. This guide will walk you through how to select, set up, and utilize the Atsafepro torque wrench effectively, whether you're a professional mechanic, a motorsport enthusiast, or a dedicated DIYer. By following these steps, you'll harness its advanced features to ensure accurate torque application without the guesswork.
Understanding the Design and Key Features
Before diving into usage, familiarize yourself with the Atsafepro torque wrench's robust construction. Its bold yellow-and-black body not only provides high visibility in busy workshops but also conveys a professional, industrial aesthetic. As an adapter-style tool, it integrates seamlessly between your existing ratchet and socket, upgrading your standard setup into a precision instrument without requiring a full tool replacement. This makes it ideal for space-conscious toolkits.
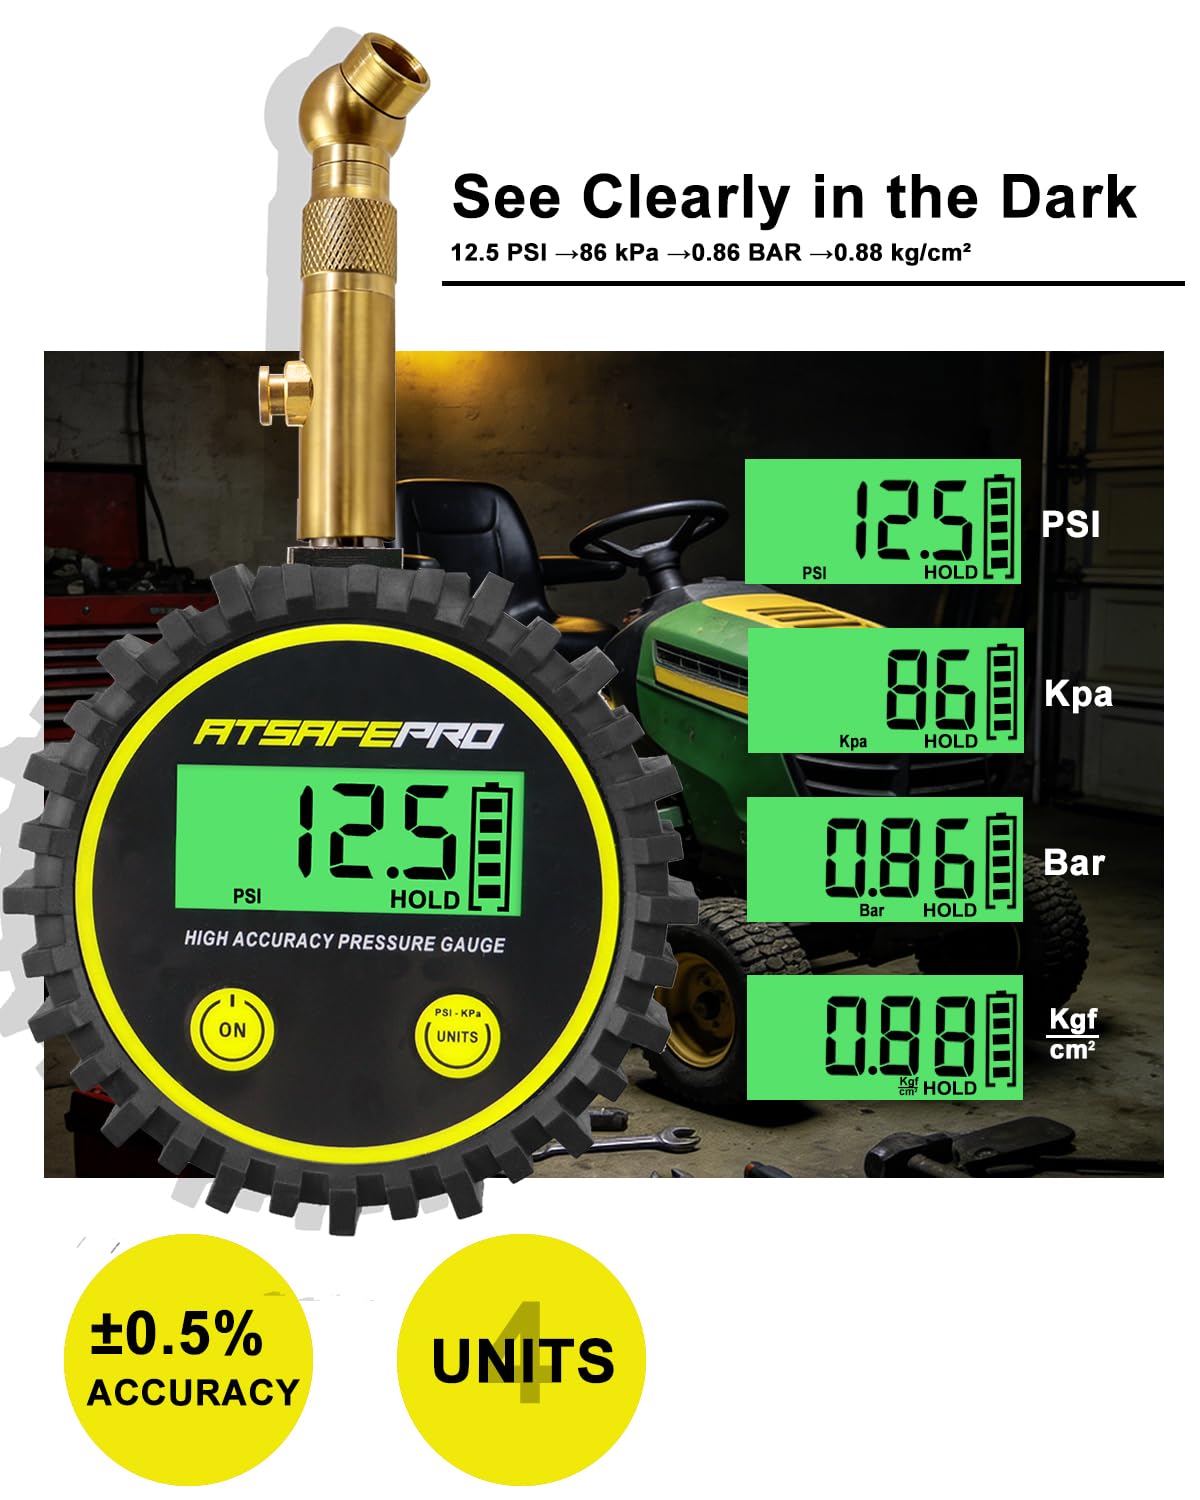
The heart of the device is its bright digital display, featuring large, high-contrast numerals for quick readability even in low-light conditions. Adjacent to the screen, you'll find intuitive buttons for mode selection, directional control, and settings adjustments. The Atsafepro torque wrench's capacity is marked at 60 Nm (44.25 ft.lb), perfect for controlled fastening in automotive, cycling, machinery, and maintenance tasks. What sets it apart is the triple alert system: an audible buzzer, handle vibration, and LED flash that confirm when your preset torque is achieved. This multi-sensory feedback minimizes errors, protecting components from damage due to under- or over-tightening.
To get started, ensure your workspace is well-lit and organized. Inspect the Atsafepro torque wrench for any visible damage and verify that the battery is charged—most models use rechargeable lithium-ion cells accessible via a side port. Attach the adapter by screwing it onto your ratchet head securely, then connect your chosen socket to the adapter's drive square. This simple integration transforms your familiar tools into a smart system, ready for precise work.
Step-by-Step Setup and Calibration
Setting up the Atsafepro torque wrench is straightforward, allowing you to focus on the job at hand. Begin by powering on the device with the dedicated power button; the digital display will illuminate, showing the current mode and battery status. Use the mode button to select your preferred unit—Newton-meters (Nm) for metric applications or foot-pounds (ft.lb) for imperial—ensuring consistency with your project specifications.
Next, enter your target torque value using the numeric keypad or adjustment buttons. For example, if you're torquing lug nuts on a vehicle wheel to 100 ft.lb, input that precisely. The Atsafepro torque wrench supports presets for common values, speeding up repetitive tasks like engine assembly or bike maintenance. Once set, the display will confirm your selection with a steady reading.
Calibration is key to accuracy, and this tool makes it user-friendly. Access the settings menu by holding the mode button for a few seconds. Follow the on-screen prompts to zero the tool, which involves applying a known torque (like a calibration weight) and adjusting as needed. The Atsafepro torque wrench often includes auto-calibration features that detect environmental factors, but for critical applications, professional verification every six months is recommended. This process ensures the device's internal sensors maintain their ±2% accuracy, vital for high-stakes jobs in motorsports or aviation-adjacent repairs.
Store your presets for efficiency; the memory function allows saving up to ten custom torque settings, accessible via a quick menu. This is particularly helpful for technicians switching between tasks, such as tightening cylinder head bolts at 50 Nm followed by exhaust manifold fasteners at 30 Nm. With setup complete, you're primed for reliable performance.
Applying Torque with Confidence Using the Triple Alert System
Now, apply the torque using the Atsafepro torque wrench. Position the socket over the fastener and engage the ratchet in the desired direction—clockwise for tightening or counterclockwise for loosening. Begin turning steadily; the digital display will update in real-time, tracking the applied torque with decimal precision. This live feedback lets you monitor progress without pausing, enhancing workflow efficiency.
As you approach the target, the Atsafepro torque wrench's triple alert system activates seamlessly. You'll first hear the buzzer, a clear audible signal that cuts through workshop noise. Simultaneously, the handle vibrates, providing tactile confirmation that's invaluable in confined spaces like under a car hood or inside an engine bay. Finally, the LED flashes brightly, offering visual assurance even in dim areas. This synchronized alerting ensures you stop exactly at the preset value, preventing over-torquing that could strip threads or under-torquing that might lead to failures.
For best results, apply steady, even pressure rather than jerky motions, allowing the sensor to capture accurate readings. In high-vibration environments, like off-road vehicle repairs, the vibration alert proves especially useful, as it won't be drowned out by ambient noise. Pause briefly after the alert to confirm the reading on the display, then proceed to the next fastener. This methodical approach builds consistency, reducing rework and boosting safety.
Practice on non-critical fasteners first to get a feel for the feedback. For instance, when assembling a bicycle frame, set the Atsafepro torque wrench to 8-10 Nm for carbon fiber parts, relying on the alerts to avoid cracking delicate materials. Over time, this tool becomes an extension of your expertise, delivering repeatable results across diverse applications.
Maintenance, Troubleshooting, and Advanced Tips
To keep your Atsafepro torque wrench performing optimally, regular maintenance is essential. After each use, wipe the housing with a clean, dry cloth to remove grease or debris—avoid harsh chemicals that could damage the display or seals. Store it in a protective case away from extreme temperatures, as the electronics are sensitive to heat above 50°C or cold below -10°C. Recharge the battery fully after every 20-30 sessions, monitoring the indicator to prevent deep discharge.
If issues arise, such as erratic readings or non-responsive alerts, troubleshoot systematically. Check for loose connections at the ratchet interface and ensure the battery contacts are clean. Reset the device via the settings menu if calibration drifts, or consult the user manual for error code interpretations—the Atsafepro torque wrench typically displays simple icons for common problems like low battery or overload. For persistent faults, contact the manufacturer's support for firmware updates, which often enhance accuracy and add features like Bluetooth connectivity for data logging.
Advanced users can leverage the tool's data export capabilities, if equipped, to record torque sequences for quality assurance reports. In team settings, like garage operations, share presets across multiple Atsafepro torque wrenches to standardize procedures. For precision-critical work, such as aerospace-inspired DIY projects, pair it with a torque angle attachment for combined measurement, expanding its versatility.
By integrating these practices, the Atsafepro torque wrench not only simplifies your tasks but elevates your results. Its blend of digital smarts, ergonomic design, and reliable alerts makes it a must-have for anyone serious about fastening. With consistent use, you'll notice fewer errors, faster completions, and greater confidence in your workmanship, turning every project into a success.