


Why tread depth matters before the weather turns
The GODESON Digital Tire tread depth gauge sits in a small but important corner of vehicle maintenance: it helps you decide whether a tire is still doing its job or quietly getting close to the edge. For passenger cars, SUVs, trucks, and fleet vehicles, tread depth is not just a number on a screen. It affects wet traction, braking confidence, and how much margin you have when roads get slick. That is why a compact digital tire tread depth gauge belongs in the same conversation as tire pressure checks and routine inspections.
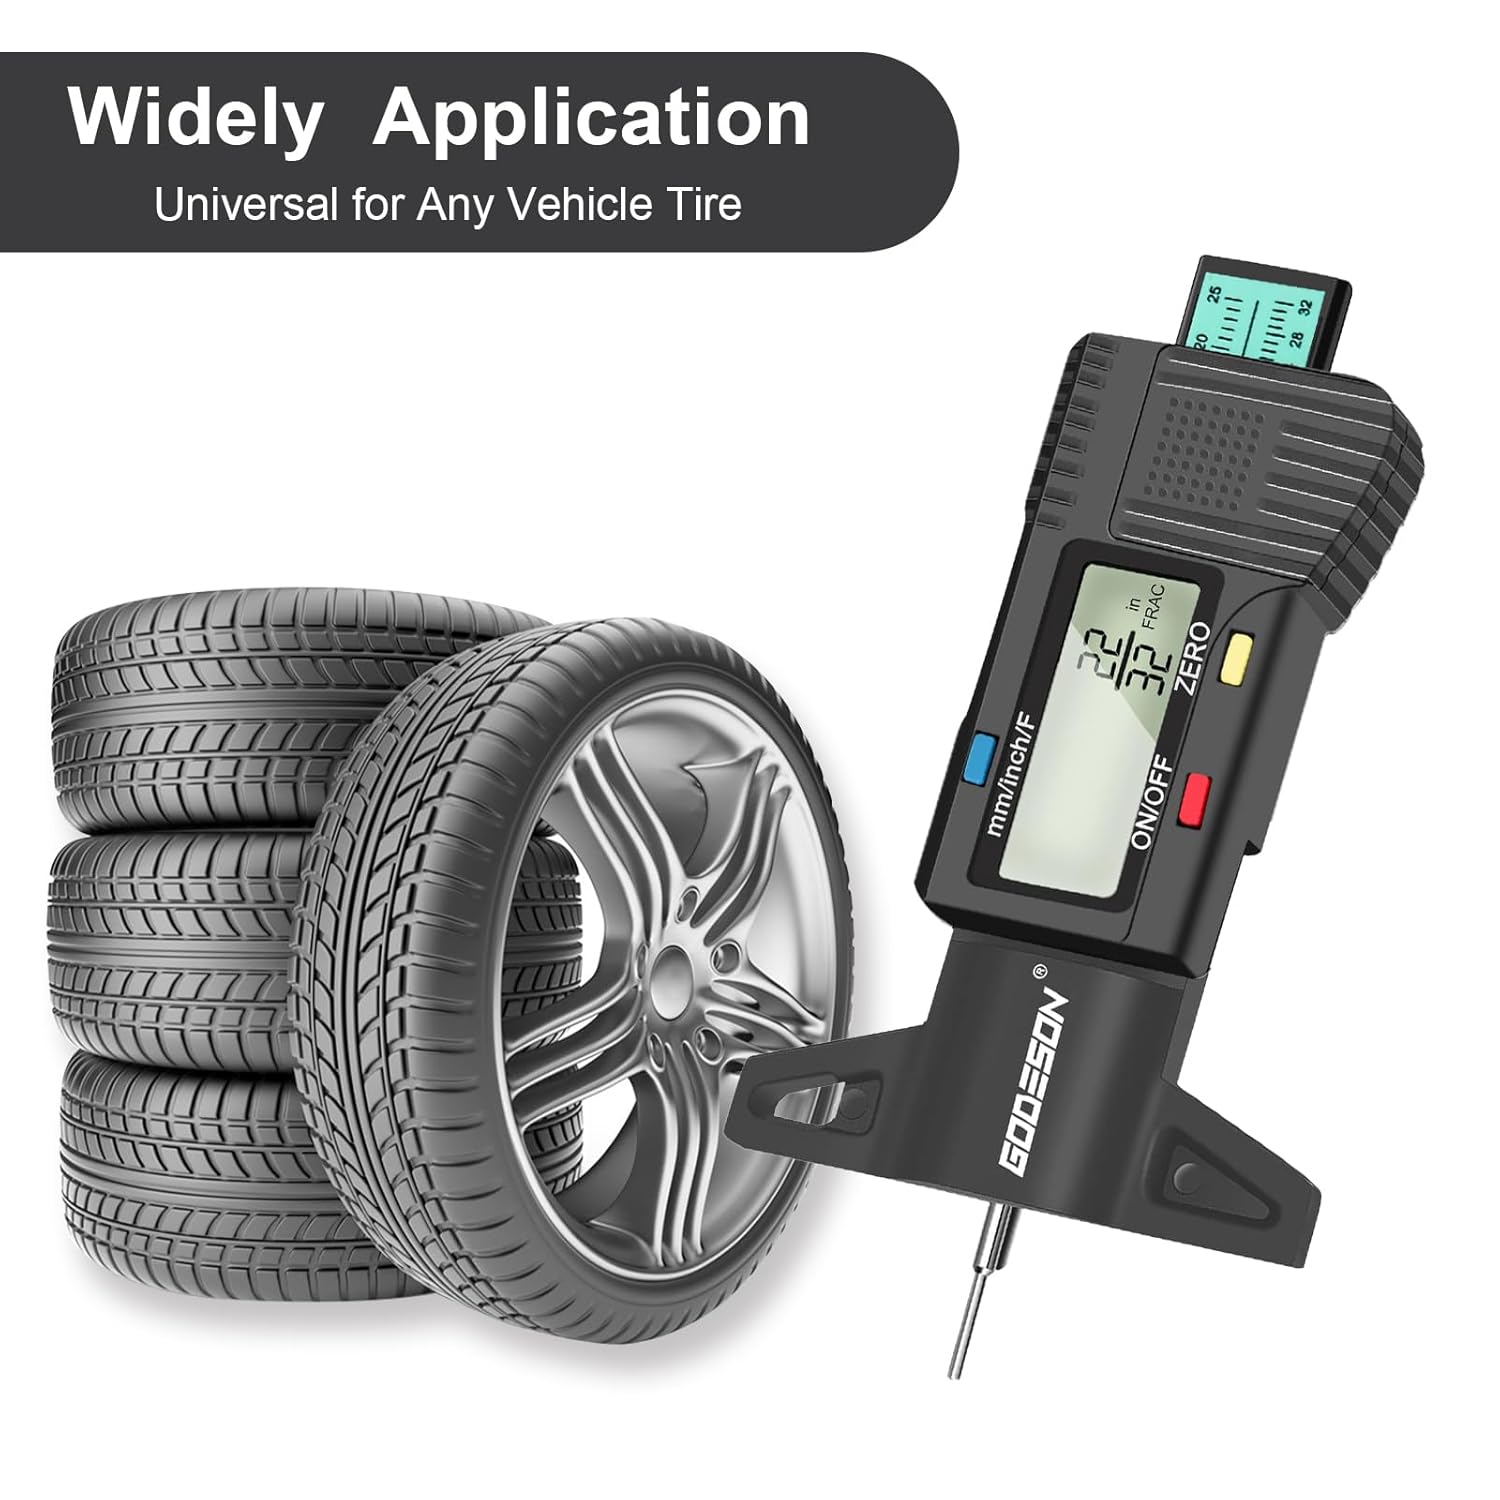
For buyers, the real question is usually not whether tread should be measured, but how often, with what tool, and how much simplicity they need in a workshop or on the shop floor. A digital gauge with an LCD readout is appealing because it removes some guesswork. You get a direct measurement, visible unit switching between mm and inch, and a form factor that is easy to carry. That matters when the person using it may be a technician doing repeated checks all day or a driver checking a family vehicle on a weekend afternoon.
What this tool is designed to do
At a glance, the GODESON Digital Tire tread depth gauge is a handheld measuring instrument made specifically for tire tread inspection. The body is compact and rectangular, with a red molded housing, a black base or foot, and a central probe that drops into the tread groove. A sliding stem with a turquoise scale insert appears on top, and the front face includes a digital display along with buttons for mm/inch, zero, and on/off. That is enough to tell you the design intent: quick, repeated measurements without needing to read a mechanical scale every time.
It is worth pausing on that point. A tire tread gauge is not just about measurement in the abstract. It is about repeatability under real shop conditions. A tool that is small, stable, and easy to zero tends to be used more often, which is usually the real advantage in maintenance work. The right tool is the one someone will actually pick up before a road trip or a dispatch cycle, not the one left in a drawer because it feels fussy.
Quick reference: what buyers usually care about
When sourcing a digital tread measuring tool, the decision often comes down to a few practical checks.
1. Readability
The LCD readout is the first selling point visible here. In a busy shop, clear numbers are faster than trying to interpret a small analog pointer, especially when hands are dirty or lighting is poor.
2. Unit flexibility
Dual unit labeling for mm and inch is useful when different teams or customers prefer different systems. It also avoids awkward conversions during inspection notes.
3. Shape and stability
The wide foot and center probe are important because tread grooves are not always uniform. A stable base helps the tool sit more naturally against the tire surface.
4. Simplicity of operation
Buttons for zero and power suggest straightforward use. In practice, that is usually more valuable than a crowded interface with features nobody needs.
How a digital tread depth gauge fits into a maintenance routine
For a tire shop, this tool can be part of intake inspection, rotation checks, and replacement recommendations. For fleet maintenance, it supports standardization: every vehicle can be checked the same way, which helps supervisors make better service decisions. For DIY users, it offers a way to verify wear before long trips or wet-weather driving without relying on the old “looks fine to me” method, which has caused more trouble than most owners admit.
The value is not limited to safety warnings. Tread depth also matters for scheduling. Tires do not fail all at once; they wear down gradually, and the useful window depends on application, driving conditions, and local requirements. A digital tire tread depth gauge helps the user see that wear trend before it becomes a replacement emergency.
What the visible design tells us about manufacturing
This appears to be an injection-molded plastic electronic measuring instrument, which is a sensible construction for a hand-held shop tool. Plastic housing keeps the form lightweight and lets the designer shape the display window, button layout, and base geometry efficiently. The visible finish suggests a practical, not decorative, product. That is usually a good sign in a maintenance tool.
The probe or stem material is not fully confirmed from the image, so it should not be assumed to be metal. Still, the central measuring point is likely engineered to withstand repeated contact with rubber surfaces. For buyers comparing suppliers, the important manufacturing questions are not only what the shell is made from, but how the stem moves, how the display is protected, and whether the tool remains consistent after regular handling.
In this category, small details matter more than people expect. A gauge can look simple and still vary a lot in button feel, display clarity, and how smoothly the stem returns. Those differences show up in the field long before anyone reads a spec sheet.
How to use a tire tread depth gauge without fooling yourself
The basic method is simple, but sloppy technique can give a false sense of security. Insert the probe into the tread groove, rest the base squarely on the tire surface, and read the display once the gauge is seated properly. Measure more than one point across the tread. That last part is important because tires often wear unevenly across the width, especially if alignment or inflation has been neglected.
A practical caution: do not rely on a single center reading if the shoulders show different wear. The result may tell you the tire is acceptable in one spot while the edges are already getting thin. A good inspection habit is to check inner, center, and outer positions where possible. If the numbers vary noticeably, the tire may be telling you something about vehicle condition, not just tread life.
Choosing between digital and other tread gauges
Not every buyer needs the same tool. Mechanical tread depth gauges are common, inexpensive, and perfectly adequate for many users. They can be durable and easy to understand. A digital gauge, on the other hand, offers a more immediate readout and often feels easier to use for teams that inspect tires repeatedly throughout the day.
For shops that want faster training and less interpretation error, digital is often the more practical choice. For minimal-use buyers, the decision may come down to cost, familiarity, and whether the team prefers a screen or a dial. There is no universal winner. The better choice is the one that matches workflow.
Common buying mistakes
One common mistake is treating every tread gauge as interchangeable. They are not. Shape, button layout, stem action, and display legibility all affect whether the tool is comfortable in daily use. Another mistake is buying a gauge for a fleet or service counter without checking how clearly it presents mm and inch units. If different people in the chain use different conventions, confusion arrives quickly.
Another practical issue is overestimating features that are not visible or confirmed. Buyers sometimes assume a digital tool has automatic shutoff, backlight, or waterproofing because those features are common in other products. Unless those details are supplied, they should not be assumed. In procurement, uncertainty is better handled early than discovered after the first workweek.
Who is most likely to benefit from this style of gauge
This kind of tool is a strong fit for tire shops, service centers, fleet maintenance teams, and individual drivers who want a simple safety check. It is also useful for anyone who needs a direct, easy-to-read measurement during pre-trip inspections. Because the form is compact, it suits toolboxes, glove compartments, and mobile service kits better than bulky measuring devices.
For purchasing teams, the appeal is straightforward: a dedicated tire tread depth gauge is a low-complexity item that supports higher-value decisions. If the tool helps a technician recommend replacement at the right time, it can prevent a roadside issue later. That is a modest piece of equipment doing an unglamorous job well.
FAQ
Is a digital tread depth gauge better than a manual one?
Not automatically. It depends on how the tool will be used. Digital models are often easier to read and quicker to train on, while manual gauges can be simpler and more rugged in some settings.
Can one reading tell me if a tire is safe?
Usually not. A single reading is only a snapshot. Measure several spots across the tread to see wear patterns and get a more reliable picture.
Why does unit switching matter?
Because teams and customers do not always work in the same unit system. A gauge that supports both mm and inch is easier to use across different environments.
What to look for before you buy
If you are comparing a digital tire tread depth gauge like the GODESON model shown here, focus on usability first. Check the display quality, the feel of the buttons, the way the probe seats in the tread, and whether the form factor fits your inspection workflow. If you are buying for a business, think about the person who will use it most often, not the person approving the purchase. Those are not always the same person, and the shop floor usually wins that argument anyway.
The best next step is simple: match the tool to the inspection environment. For regular tire checks, a compact digital gauge with mm/inch labeling and a clear display is often enough to keep decisions moving. For sourcing teams, that makes the purchase less about gadgetry and more about repeatable, easy-to-trust inspection practice.





