


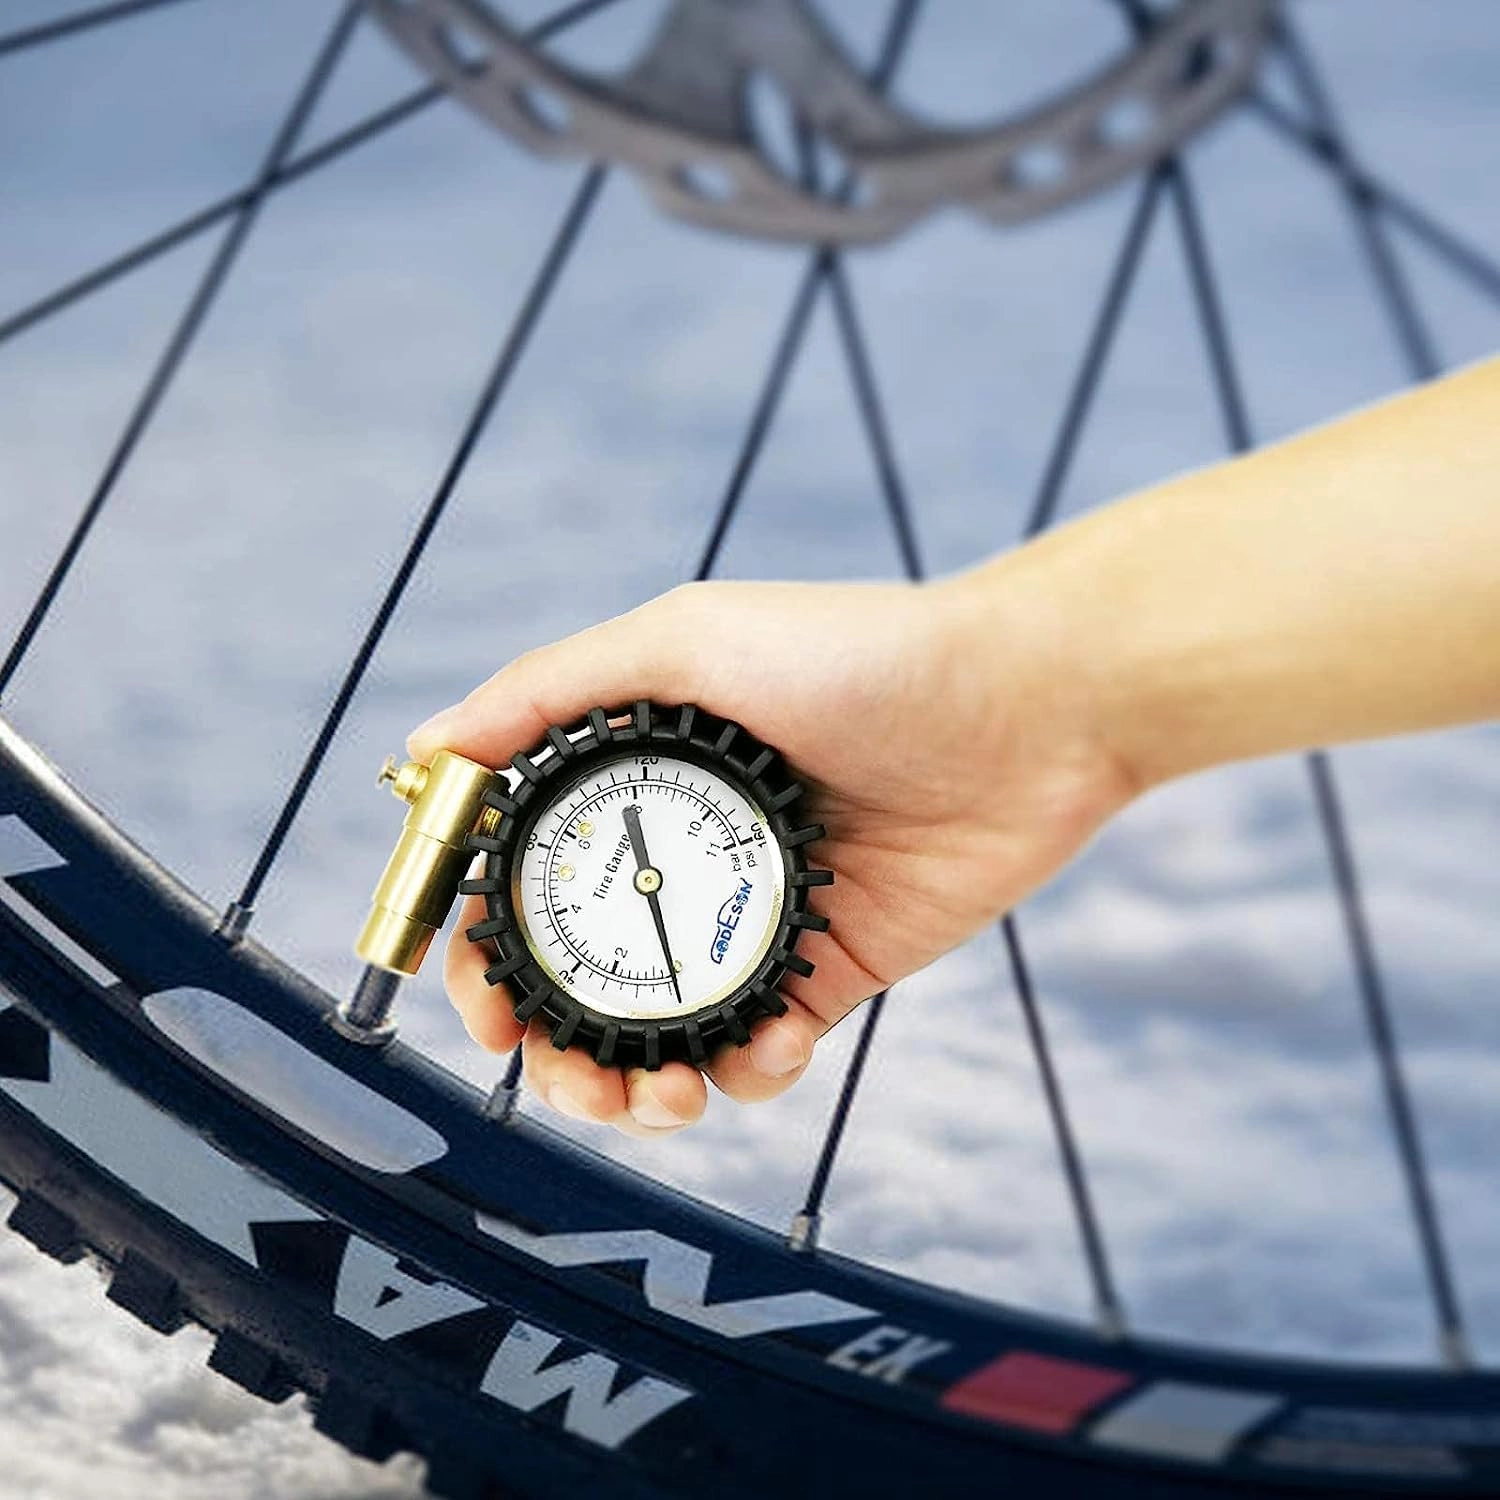
Bike Tire Pressure Gauge: Essential Precision for Every Ride
Why Tire Pressure Defines Cycling Safety
Tire pressure is one of the most overlooked aspects of cycling. An underinflated tire increases rolling resistance, slows down performance, and risks pinch flats. Overinflation, on the other hand, reduces traction and makes the ride uncomfortable on rough terrain. A Bike Tire Pressure Gauge takes the guesswork out, allowing cyclists to achieve the perfect balance between speed, safety, and comfort.
Problems Riders Face Without Accurate Measurement
| Rider Issue | Impact on Performance | Gauge-Based Solution |
|---|---|---|
| Overinflated tires | Harsh ride, reduced grip on corners | Accurate gauge readings ensure safe PSI ranges |
| Underinflated tires | Higher rolling resistance, risk of rim damage | Gauge prevents pressure dropping below safety limits |
| Inconsistent pump readings | Unreliable inflation, wasted effort | Dedicated gauge ensures standardized results |
| Commuter uncertainty | Daily rides risk uneven wear | Quick checks keep tires within manufacturer recommendations |
Key Features of Professional Gauges
Cyclists demand more than just basic air checks. High-quality bike pressure gauges deliver:
-
Digital and Analog Options – Digital models provide instant, precise readings; analog remains dependable in rugged conditions.
-
High PSI Range – Suitable for both low-pressure mountain tires and high-pressure road bike tires.
-
Durable Housing – Built to withstand outdoor use and rough handling in toolkits.
-
Ergonomic Design – Compact size with easy-to-read displays for on-the-go checks.
-
Compatibility – Works with both Presta and Schrader valves for universal cycling use.
Real-World Applications for Cyclists
-
Road Cyclists: Gauge accuracy helps maintain high-pressure tires for maximum speed and efficiency.
-
Mountain Bikers: Maintaining lower pressures for grip and shock absorption requires precise monitoring.
-
Commuters: Quick checks before work prevent unnecessary punctures or delays.
-
Long-Distance Riders: Consistent tire pressure reduces fatigue and enhances endurance performance.
Practical Maintenance Tips
-
Always measure pressure when tires are cold for accuracy.
-
Match PSI to terrain: higher for smooth roads, lower for rough trails.
-
Store gauges in dry, protected areas to prevent sensor damage.
-
Recalibrate digital gauges annually for long-term accuracy.
-
Combine gauge checks with pump use instead of relying on pump dials.
Q&A: Cyclist Concerns
Q: Can I rely on pump gauges instead of a separate tool?
A: Pump gauges are often less accurate. A dedicated bike tire pressure gauge ensures consistent readings.
Q: What PSI should I run for my bike?
A: Road bikes often require 80–120 PSI, while mountain bikes run between 25–50 PSI, depending on terrain and rider weight.
Q: Do I need both digital and analog gauges?
A: Not necessarily. Digital offers quick precision; analog provides durability in rugged environments. Some riders keep both for flexibility.
Why Choose ATSAFEPRO for Cycling Precision
ATSAFEPRO bike tire pressure gauges combine precision engineering with rugged durability. Whether for weekend cycling, professional racing, or daily commuting, our gauges help riders:
-
Maintain correct PSI for safety and comfort.
-
Reduce tire wear and extend performance.
-
Enjoy confidence on every ride, regardless of conditions.
Precision That Keeps You Moving
Cyclists often invest in premium frames, advanced drivetrains, and aerodynamic helmets, yet the simplest detail—tire pressure—has just as much impact on performance and safety. A precise Bike Tire Pressure Gauge makes sure every mile is supported by stable traction, balanced comfort, and reduced risk of flats.
For road cyclists chasing speed, mountain bikers handling unpredictable terrain, or commuters seeking daily reliability, ATSAFEPRO tools provide the accuracy that keeps you moving with confidence.
Discover the full range of cycling solutions on our homepage or reach out directly through the contact page for expert support.





