


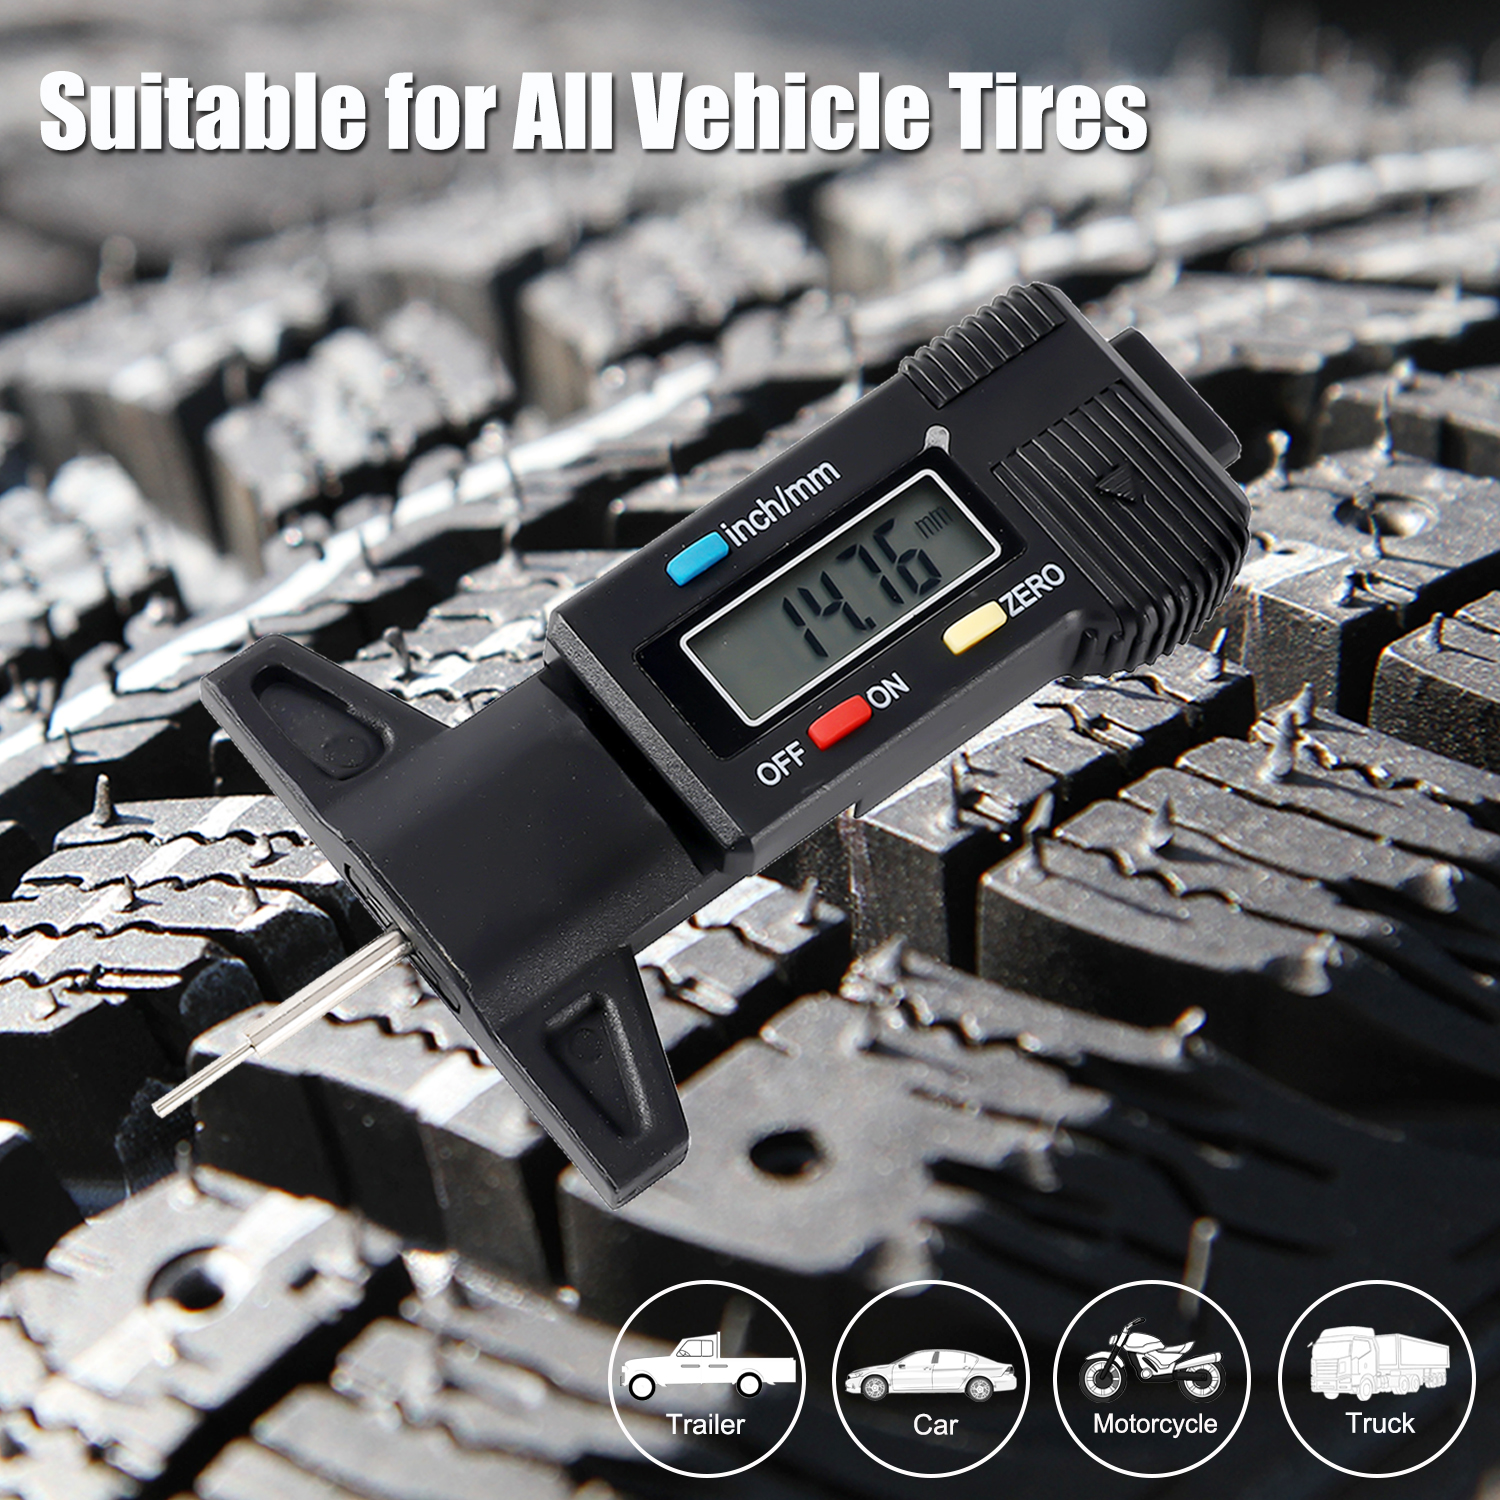
Pro Tips for Using Your Tread Depth Gauge Like a Mechanic

  • blog
Posted by ATSAFEPRO On Sep 17 2025

You've bought your tread depth gauge—awesome! But to get the true story of your tire's health, you need to use it correctly. Follow these professional tips to ensure you're getting accurate and meaningful data every time.

1. Check When Tires Are Cold
Heat from driving expands the rubber and can slightly alter the reading. For the most consistent and accurate measurements, check your tread depth before you drive for the day or after the car has been parked for several hours.

2. Measure in Multiple Locations
Tires don't always wear evenly. Don't just check one spot!

  • The Penny Test Method: Take a measurement in the center and near the inside and outside shoulders of the tire.

  • The Full Picture: For a complete assessment, take measurements in a few different grooves around the circumference of the tire.

3. Mind the Wear Bars
All modern tires have built-in "tread wear indicator" bars that run across the grooves. When the tread is flush with these bars, it's at 2/32" and must be replaced immediately. Use your gauge to measure how much tread you have left before you hit the bars.

4. Press the Shoulders Flush
For analog gauges, ensure the base or "shoulders" of the tool are pressed firmly and evenly against the tread blocks, not the grooves. This ensures the probe extends to the correct depth for a true reading.

5. Record Your Readings
Don't just measure and forget. Keep a small logbook or note in your phone. Recording your tread depth every month or two allows you to track wear rates and predict when you'll need new tires, helping you budget for the expense.

By following these simple steps, you'll move from a novice to a pro, extending the life of your tires and ensuring your vehicle remains safe on the road.


Featured Blogs

Tag:

  • Blog
Share On
Featured Blogs
ATsafepro torque wrench: what buyers should know before choosing a kit

ATsafepro torque wrench: what buyers should know before choosing a kit

1. Interview: what buyers really want from an adjustable torque wrench kit 2. First impressions from the bench 3. What a torque wrench kit is actually solving 4. What stands out in this kit 5. Quick buyer takeaway: where this type of kit fits best 6. How to evaluate the tool before buying 7. Materials and manufacturing, in plain language 8. Common mistakes shops make with adjustable torque wrenches 9. Interview note: what end users usually appreciate 10. FAQ 11. What a sourcing manager should request next

ATsafepro Torque Wrench Kit: What It’s Built For

ATsafepro Torque Wrench Kit: What It’s Built For

1. Why an adjustable torque wrench kit earns its place in the workshop 2. What the ATsafepro torque wrench set appears to be built for 3. The practical problem this tool solves 4. Quick buyer takeaways 5. How to read the value of the wrench body, not just the label 6. Why the case matters more than many teams expect 7. Material choices and what they suggest 8. Where this kit fits best 9. Common buying mistakes 10. How to evaluate this kind of kit before you buy 11. FAQ 12. What a buyer should do next

ATsafepro Torque Wrench: What Buyers Need to Know

ATsafepro Torque Wrench: What Buyers Need to Know

1. ATsafepro torque wrench: what buyers usually want to know first 2. What this kit appears to include 3. Why torque control matters more than “tight enough” 4. How the visible design supports daily use 5. Socket accessories: why the case matters as much as the wrench 6. What kind of buyer this wrench is suited for 7. Selection criteria buyers should not skip 8. Common mistakes when using a torque wrench kit 9. FAQ 10. Final buying advice

ATsafepro Torque Wrench Review: What the Kit Offers for Shop Use

ATsafepro Torque Wrench Review: What the Kit Offers for Shop Use

1. ATsafepro torque wrench vs. ordinary hand tightening: what changes in the shop 2. Quick comparison: torque wrench set, standard ratchet, and impact tool 3. What the visible kit suggests about real-world use 4. Why torque control matters more than many buyers expect 5. How this style of wrench compares with other common options 6. What to check before choosing a kit like this 7. Common mistakes buyers make with adjustable torque wrenches 8. Who this kind of kit suits best 9. Practical buyer advice before you order 10. FAQ 11. What to do next

ATsafepro Torque Wrench: What Buyers Should Check Before Ordering

ATsafepro Torque Wrench: What Buyers Should Check Before Ordering

1. ATsafepro torque wrench: what buyers should look for before they put one in a cart 2. 1. What the kit appears to be for 3. 2. What you can verify from the visible design 4. 3. Why socket material and markings matter 5. 4. Quick buyer checklist for an adjustable click-type torque wrench set 6. 5. Where buyers tend to get tripped up 7. 6. Practical notes for shops, fleets, and retail buyers 8. 7. Short takeaways for procurement teams 9. 8. FAQ: common questions buyers ask 10. 9. A sensible next step

ATsafepro Torque Wrench Review: What Buyers Should Check

ATsafepro Torque Wrench Review: What Buyers Should Check

1. A practical look at the ATsafepro torque wrench: what buyers are really checking 2. What stands out in the kit 3. How a click-type torque wrench helps in daily work 4. What the visible construction suggests 5. Where this kind of kit fits best 6. How buyers should evaluate it before purchase 7. Common mistakes buyers make with torque tools 8. A short interview-style takeaway from the shop floor 9. What to ask the supplier before you commit 10. Bottom line for buyers



