


Best Digital Tire Gauges Every Cyclist Should Consider

  • blog
Posted by ATSAFEPRO On Aug 18 2025

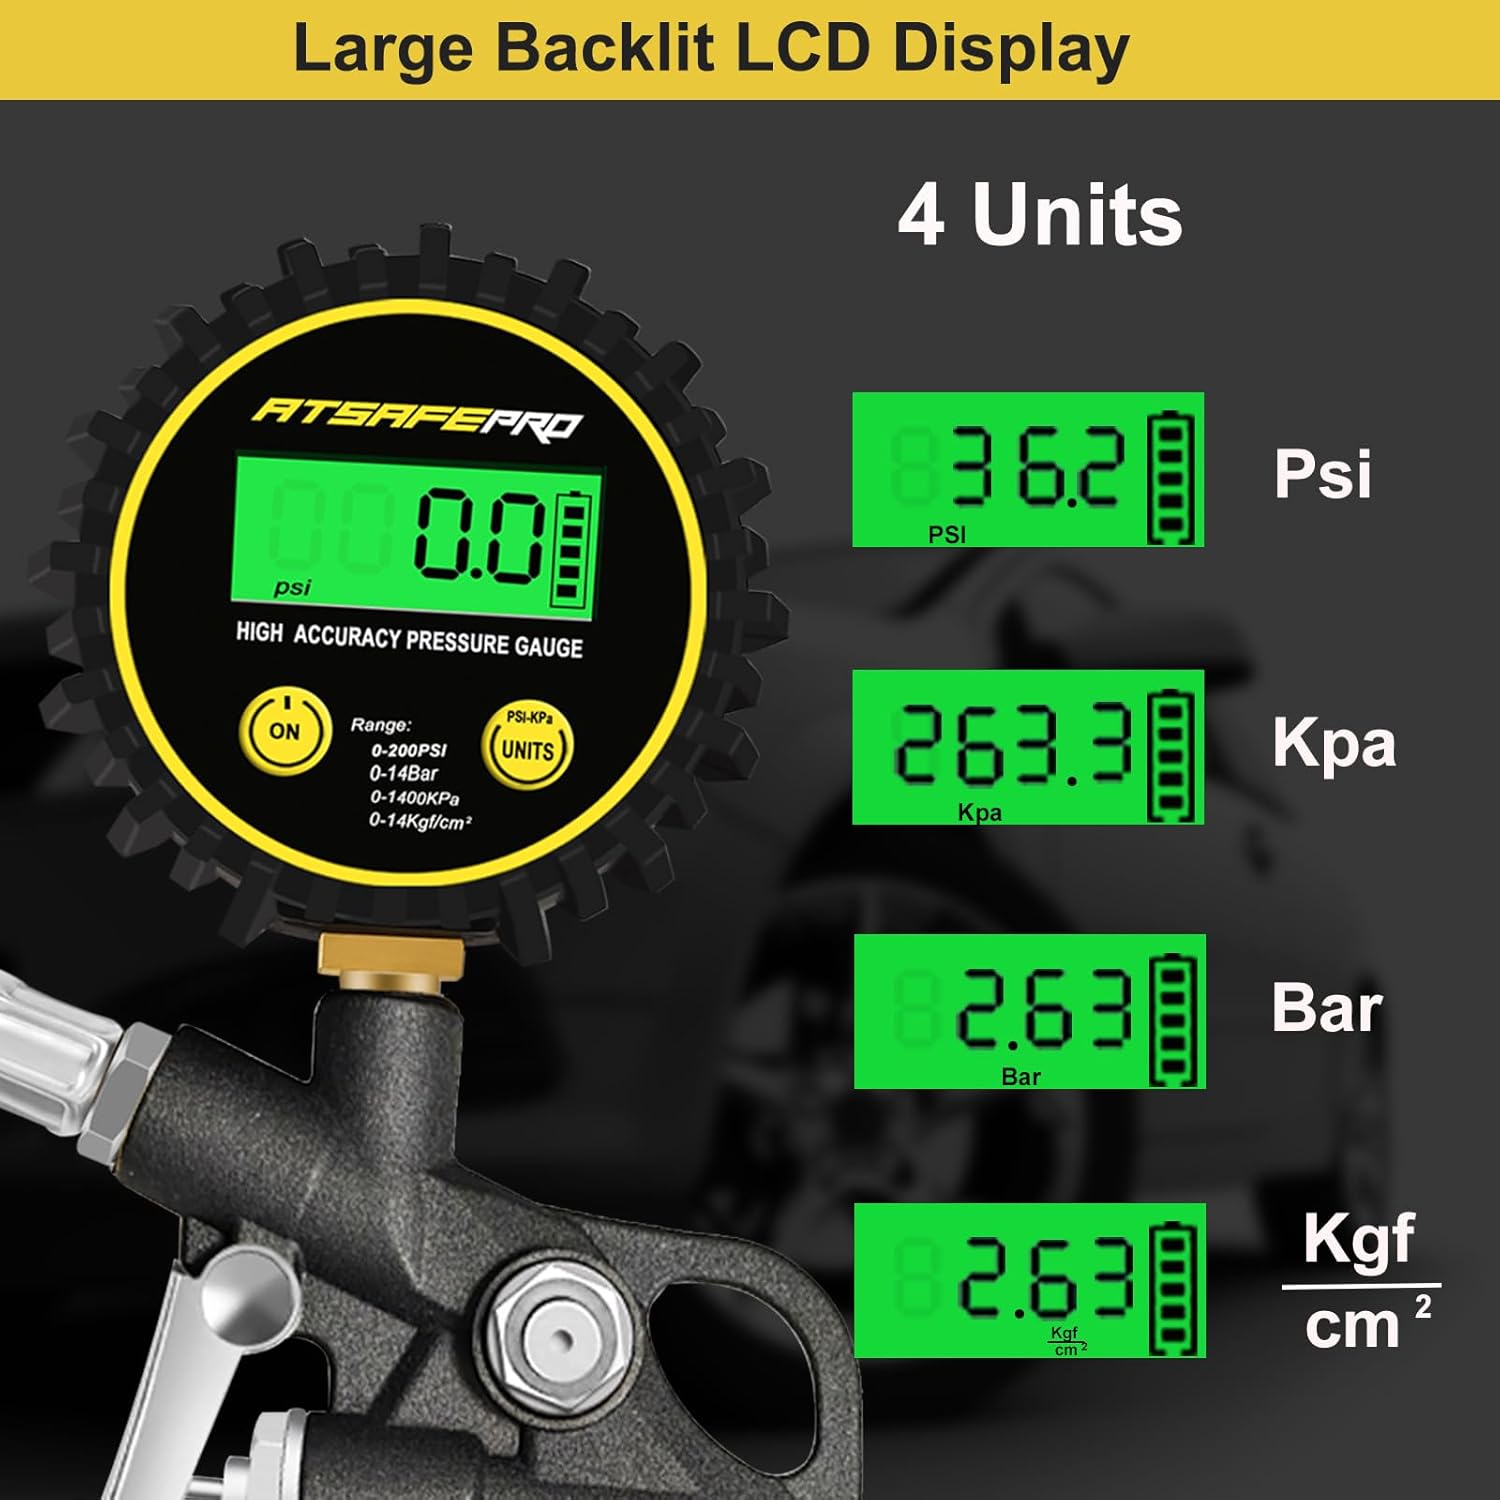
ATSAFEPRO digital tire gauge checking bicycle tire pressure

Best Digital Tire Gauges Every Cyclist Should Consider

Why Tire Pressure Is Critical for Cyclists

Unlike cars, bicycles rely entirely on precise tire pressure for performance. Just 5 PSI too low can make pedaling harder and increase the risk of pinch flats, while overinflation reduces grip on corners. According to cycling experts, maintaining optimal tire pressure improves rolling efficiency by up to 15% and prevents early tire wear.

For this reason, a digital tire gauge is one of the most valuable tools any cyclist can carry.

What Makes Digital Tire Gauges Ideal for Bikes

  • High Accuracy: Even small deviations matter for bike tires, which often require pressure between 60–120 PSI.

  • Easy-to-Read Displays: Digital screens provide clear numbers, especially helpful during night rides or in low-light conditions.

  • Compact and Portable: Many digital gauges fit in a pocket or saddlebag.

  • Consistency: Unlike many gas station pumps, digital gauges deliver repeatable and reliable results.

Benefits of Regular Tire Pressure Checks for Your Bike

  • Improved Performance: Consistent pressure reduces rolling resistance, making pedaling smoother and faster.

  • Extended Tire Life: Correct PSI prevents premature wear on sidewalls and treads.

  • Better Comfort: Well-inflated tires absorb shocks more effectively, improving ride quality.

  • Fuel Savings for E-Bikes: For electric bicycles, optimal pressure extends battery efficiency.

  • Confidence on Every Ride: Knowing your tires are in top condition lets you focus on the road, not potential problems.

How to Use a Digital Tire Gauge for Your Bike

  1. Ensure the bike tire is cool, not just ridden.

  2. Remove the valve cap (Presta or Schrader depending on your bike).

  3. Place the digital gauge firmly onto the valve stem.

  4. Read the PSI displayed on the screen.

  5. Inflate or release air until the reading matches your target pressure.

Pro Tip: For long rides, check before and after your journey. A gradual loss of 1–2 PSI is common.

Comparing Digital Gauges with Other Types

Gauge Type Advantages Best Use Case Limitations
Digital Tire Gauge Precise, easy to read, portable Cyclists, commuters, road trips Needs batteries
Mechanical (Dial) Gauge Rugged, no batteries required Workshop or home use Bulkier, less portable
Pencil Gauge Lightweight, very compact Emergency kits, backup tool Less precise, harder to read

For cyclists, digital gauges strike the right balance of portability and accuracy. Pencil gauges are a good backup, while dial gauges are better suited for home garages.

Accidents Prevented by Checking Tire Pressure Before Cycling

  • Pinch Flats on the Road
    Underinflated tires increase the risk of hitting the rim when encountering potholes or curbs, causing sudden flats.

  • Loss of Control on Corners
    Overinflated tires reduce grip, making it easier to slide out on turns, especially in wet conditions.

  • Unexpected Blowouts
    Riding at high speeds with low PSI builds heat and can lead to dangerous blowouts, putting the rider at risk of crashes.

  • Reduced Braking Efficiency
    Incorrect pressure limits tread contact, making emergency braking less effective and increasing stopping distance.

  • Instability on Long Rides
    Tires with poor pressure balance can wobble, leading to instability and rider fatigue.

ATSAFEPRO: Digital Tire Gauges Designed for Cyclists

For cyclists, accurate tire pressure isn’t optional — it’s the difference between a smooth ride and a flat tire. ATSAFEPRO digital tire gauges are designed for portability, accuracy, and ease of use, making them perfect for daily commuting, long-distance touring, or competitive cycling.

Explore our products or contact us to find a digital tire gauge that fits your cycling lifestyle.


Featured Blogs

Tag:

  • Blog
Share On
Featured Blogs
ATsafepro Torque Wrench: What Buyers Should Check Before Ordering

ATsafepro Torque Wrench: What Buyers Should Check Before Ordering

1. ATsafepro torque wrench: what buyers should look for before they put one in a cart 2. 1. What the kit appears to be for 3. 2. What you can verify from the visible design 4. 3. Why socket material and markings matter 5. 4. Quick buyer checklist for an adjustable click-type torque wrench set 6. 5. Where buyers tend to get tripped up 7. 6. Practical notes for shops, fleets, and retail buyers 8. 7. Short takeaways for procurement teams 9. 8. FAQ: common questions buyers ask 10. 9. A sensible next step

ATsafepro Torque Wrench Review: What Buyers Should Check

ATsafepro Torque Wrench Review: What Buyers Should Check

1. A practical look at the ATsafepro torque wrench: what buyers are really checking 2. What stands out in the kit 3. How a click-type torque wrench helps in daily work 4. What the visible construction suggests 5. Where this kind of kit fits best 6. How buyers should evaluate it before purchase 7. Common mistakes buyers make with torque tools 8. A short interview-style takeaway from the shop floor 9. What to ask the supplier before you commit 10. Bottom line for buyers

ATsafepro Torque Wrench Review: Features, Uses, and Buyer Fit

ATsafepro Torque Wrench Review: Features, Uses, and Buyer Fit

1. Why buyers keep asking about the ATsafepro torque wrench 2. Quick take: what this set appears to be built for 3. Interview notes from a buyer’s point of view 4. What the visible design tells you 5. Socket set inclusion: where this package adds value 6. Selection criteria that matter more than the product photo 7. Common mistakes buyers make with torque tools 8. Practical use cases where this set looks sensible 9. Buyer-facing cautions worth saying out loud 10. FAQ 11. What a smart next step looks like

ATsafepro torque wrench: What this adjustable click-type kit offers

ATsafepro torque wrench: What this adjustable click-type kit offers

1. Why an adjustable click-type torque wrench kit matters in real shop work 2. What this kit appears to offer at a glance 3. How a click-type torque wrench works 4. Best use cases for a kit like this 5. Selection criteria buyers should check before specifying one 6. Common mistakes when using a torque wrench kit 7. What the visible construction suggests about durability 8. How to use the kit well in day-to-day work 9. Who should buy this type of kit 10. FAQ 11. What to do next

ATsafepro Torque Wrench: What Buyers Should Check Before Use

ATsafepro Torque Wrench: What Buyers Should Check Before Use

1. ATsafepro torque wrench: what buyers should look for before putting one in service 2. What this kit appears to be 3. Why torque control matters in the shop and garage 4. Quick buyer read: what matters most in a kit like this 5. How a click-type torque wrench is typically used 6. Materials and construction cues buyers can actually inspect 7. Common mistakes when buying a torque wrench kit 8. Practical selection advice for different buyers 9. FAQ 10. What a careful buyer should do next

ATsafepro torque wrench: what buyers should look for in a wheel-service kit

ATsafepro torque wrench: what buyers should look for in a wheel-service kit

1. What is in the kit? 2. Why the socket assortment matters 3. How a click-type torque wrench helps prevent damage 4. Material and construction: what the image suggests 5. Where this type of kit fits best 6. What buyers should verify before ordering 7. Common buyer mistakes with torque wrench kits 8. Quick buyer FAQ 9. Final buyer take



